Connecting Wi-Fi for a BMW ICOM (Intelligent Communication Optical Module) is essential for seamless communication and diagnostics with your BMW vehicle. In this article, we will provide you with a step-by-step guide to connect Wi-Fi for your BMW ICOM.
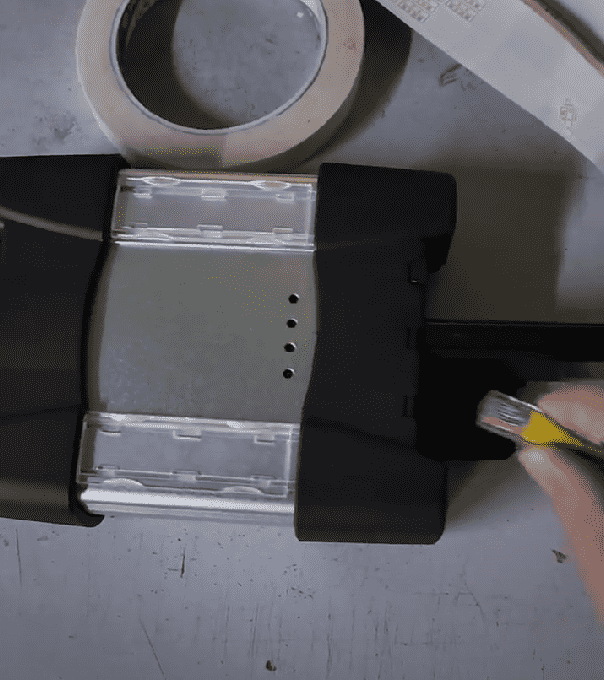
1. USB Interface Connection: Start by plugging in the USB interface that is connected to Wi-Fi. After this, power on the ICOM module.
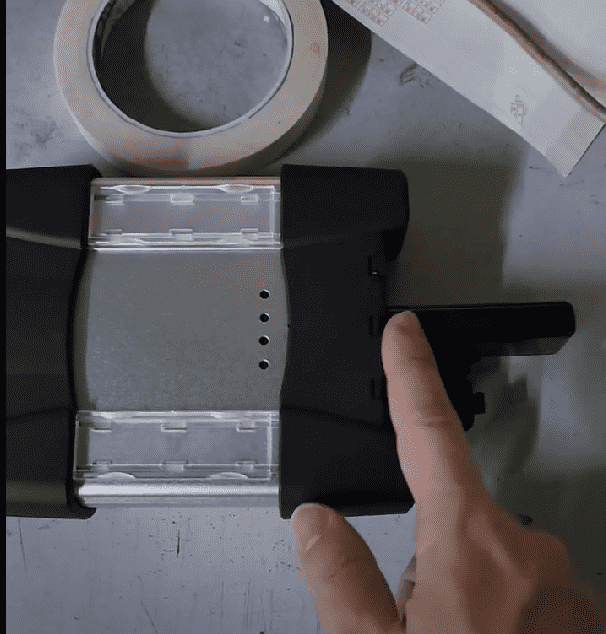

2. Network Cable Connection: Next, connect the network cable from the ICOM to your computer.
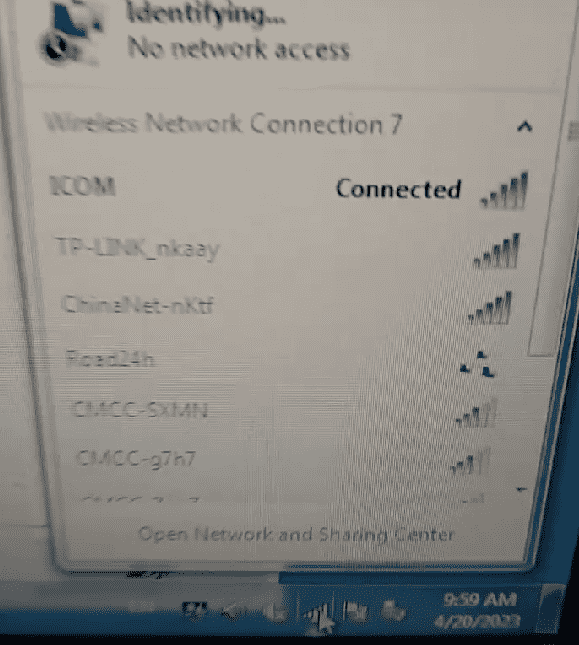
3. Computer Wi-Fi Connection: Ensure that the computer is connected to the local router’s Wi-Fi network.

4. ICOM Configuration via Browser:
– Open an Internet Explorer browser.
– Enter the ICOM configuration address, which should correspond to the current real IP of your ICOM.
– When prompted, enter the Wi-Fi password. This password should be available in the ICOM documentation or on the device itself.


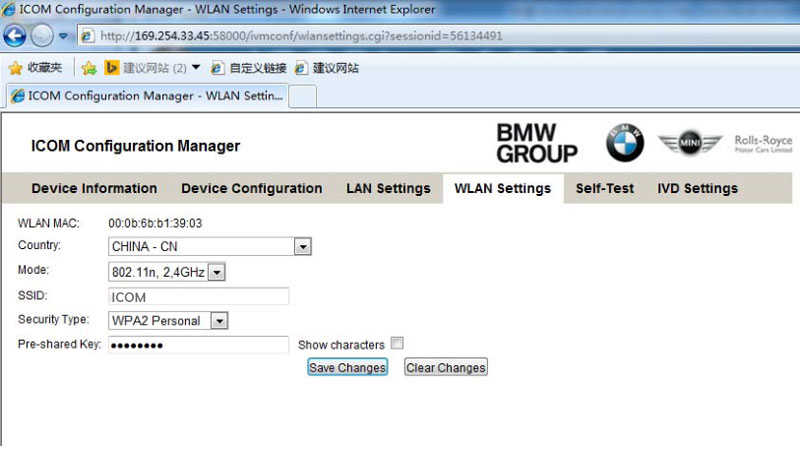
5. Setting Up WLAN on ICOM:
– Navigate to the WLAN settings in the ICOM configuration page.
– Enter the necessary Wi-Fi settings.
– Save the changes.
6. Finalizing Connection:
– Disconnect the LAN cable.
– Restart the ICOM module. After restarting, the ICOM should automatically connect to the Wi-Fi network.
7. Specific Configuration for USB-WIFI with ICOM Software:
– Method 1 (PC – Router – ICOM): Connect the PC to the router, and then connect the ICOM to the router.
– Method 2 (ICOM – PC): Directly connect the ICOM emulator to the PC.
As you’ve rightly noted, it’s important to consider that the steps may vary slightly depending on the specific ICOM model and software version. Always consult the user manual for the most accurate instructions. If you’re not comfortable with these steps or encounter any difficulties, seeking professional assistance or contacting BMW support is advisable.