Introduction:
Dismantling a Doosan excavator pump might seem like a daunting task, but with the right tools and knowledge, it can be done efficiently. In this article, we will provide a detailed guide on how to disassemble the plunger pumps and gear pumps of a Doosan excavator. Follow these steps carefully to ensure a successful disassembly process.
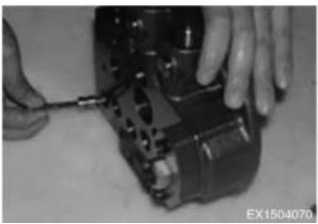
Step 1: Removing the Bolts
Start by removing the bolts (M1025L: 2) that hold the plunger pump and gear pump together. Since these pumps have an O-ring on the joint surface, exercise caution during separation. Use an 8mm tool to remove the bolts.
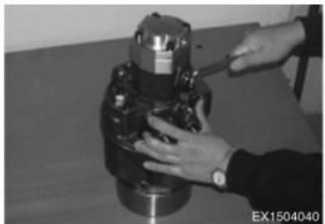
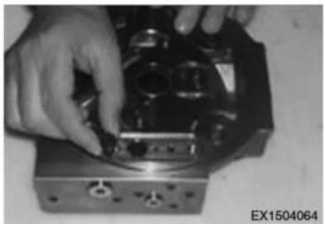
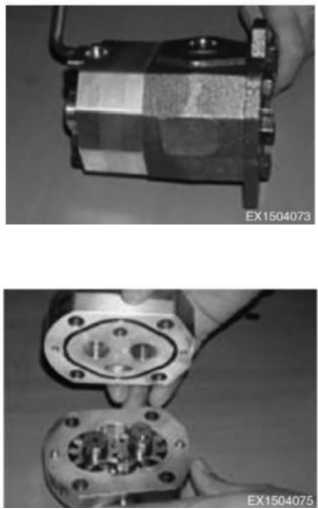
Step 2: Removing the Coupling Spline Sleeve
Next, remove the coupling spline sleeve. This will allow for further disassembly of the pump components.
Disassembling the Plunger Pump:
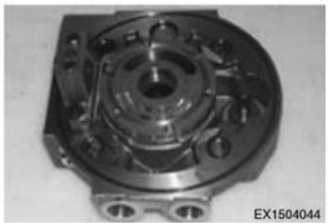
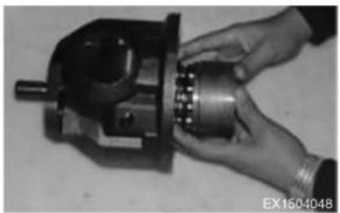
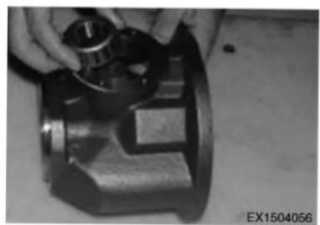
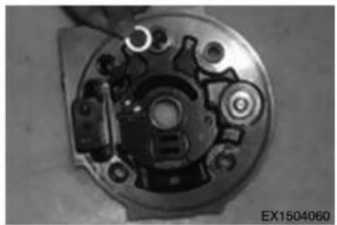
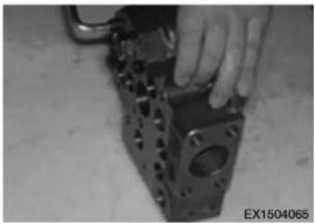
Step 1: Remove the inner hexagon bolt (33,34) and separate the pump from the housing
End cover (21).
(M1230:3) (M1255:1)
· Tool: 10mm (factory —)
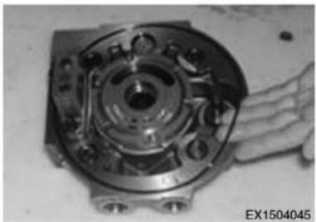
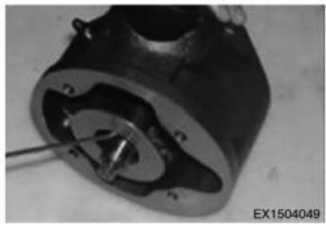
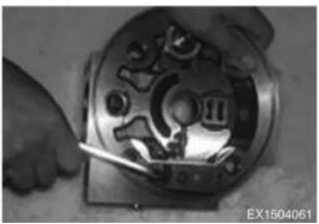
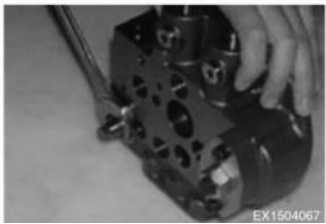
Step 2: When removing the end cover, please separate in the horizontal direction. When the b is difficult to remove, please tap it gently with a plastic hammer.
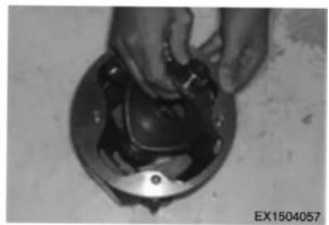
Status after the pump end cover is removed.
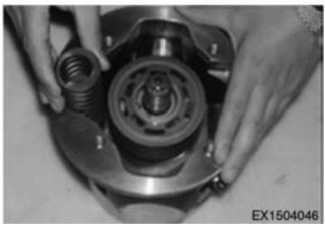
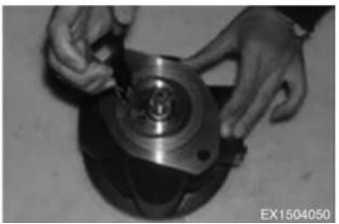
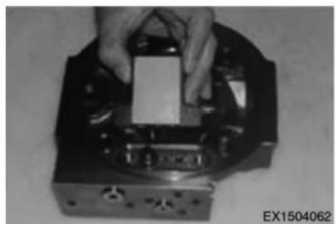
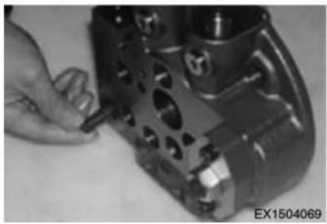
Step 3: Removing the O-ring
Once the end cover is removed, carefully remove the O-ring (30, 31) from the pump.
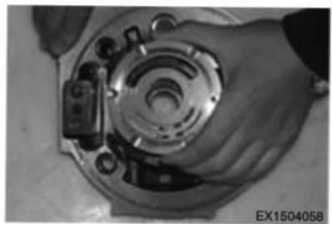
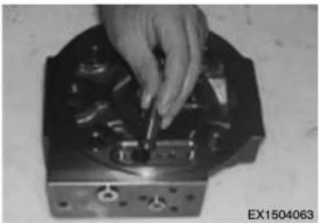
Step 4: Removing the Adjustment Spring
Remove the adjustment spring from its position.
Step 5: Removing the Spring Seat
Detach the spring seat from the pump housing (51).
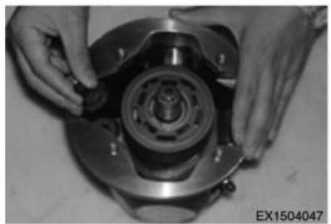
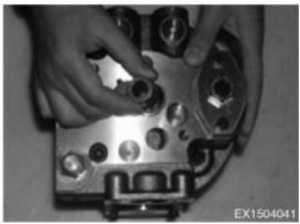
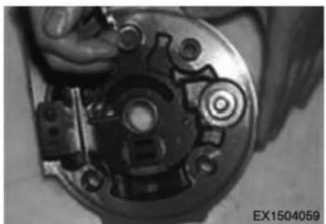
Step 6: Removing the Plunger Plug Assembly
Using a hook, remove the plunger plug assembly from the pump.
Step 7: Removing the Slide Track Plate
Continue by using a hook to remove the slide track plate.
Step 8: Removing the Clamp Spring
Remove the clamp spring along with the clamp (7).
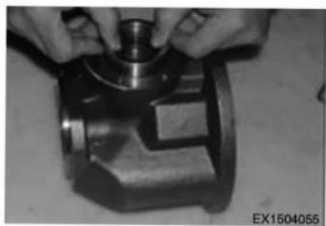
Step 9: Removing the Front Cover
Detach the front cover (8) from the pump.
Step 10: Removing the O-ring
Carefully remove the O-ring from the front cover.
Step 11: Removing the Bearing Pads
Remove the bearing pads (14) from their position.
Step 12: Removing the Bearing
Detach the bearing from the pump.
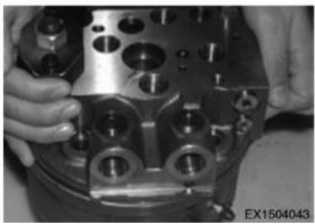
Step 13: Removing the Inclined Plate
Remove the inclined plate from the pump.
Step 14: Removing the Flow Distribution Plate
Separate the flow distribution plate from the pump.
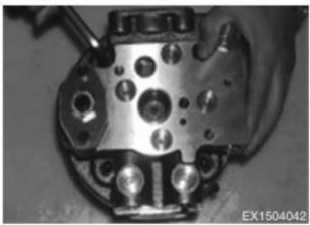
Step 15: Removing the Card Spring
Carefully remove the card spring (28) from its position.
Step 16: Removing the Filter Screen
Remove the filter screen (26) from the pump.
Step 17: Removing the Retaining Bolt
Remove the retaining bolt (67) for the flow adjustment valve block (M8 x 25L: 2s). Only remove this bolt if necessary.
Step 18: Separating and Adjusting the Valve Body
Separate and adjust the valve body, ensuring to be cautious of the O-ring on the binding surface.
Step 19: Removing the Flow Adjustment Valve Spool
Remove the flow adjustment valve spool from the valve body.
Step 20: Removing the Disc Springs and Spring Seats
Remove the three disc springs and spring seats from the valve body.
Step 21: Removing the Inner Hexagon Bolts
Locate and remove the inner hexagon bolts to separate the cover bolts (M830L: 2s). Use a 6mm tool for this step.
Step 22: Removing the Overflow Valve
If necessary, remove the overflow valve by removing the inner hexagon bolts. Use a 24mm tool for this step.
Step 23: Removing the Adjustment Bolts
Remove the adjustment bolts, taking into consideration the valve core.

Step 24: Separating the Spring
Separate the spring from its position.
Step 25: Removing the Spool
Remove the spool from the valve body.
Step 26: Disassembling the Drive Shaft
Remove the clamp spring and the bearing from the drive shaft.
Step 27: Removing the Bearings
If necessary, use a plastic hammer to strike the bearings gently for their removal.

Conclusion:
Disassembling a Doosan excavator pump requires precision and attention to detail. By following the step-by-step guide provided in this article, you can successfully dismantle both the plunger pump and gear pump components. Remember to exercise caution and use the appropriate tools during the disassembly process.